U.S. National Park Reservations: Entry, Camping and Day-Trip Checklist
Smartor 편집팀
August 21, 2026

Planning a U.S. national park trip takes more than choosing a destination. A single park may separately manage timed entry, vehicle reservations, entrance fees, campgrounds, shuttles, cave or boat tours, and backcountry permits. An entrance pass does not necessarily include a reservation or activity permit. A confirmation stored only in your email can also become hard to retrieve when cell service disappears.
This practical guide takes you from checking official information and identifying the right reservation to saving the rules, reviewing current conditions, preparing offline backups, and arriving at the correct entrance. Park operations can change with seasons, construction, wildfire, staffing, weather, or wildlife activity, so the park’s official National Park Service page and the individual reservation page should always be your final sources.
Search results often place travel ads, map listings, and old blog posts ahead of the information you need. Start with the NPS Plan Your Visit page, locate the exact park, and review Alerts, Current Conditions, Fees & Passes, Operating Hours & Seasons, Directions, and Things To Do. Confirm that the address is on nps.gov. If a reservation button takes you elsewhere, verify that the destination is recreation.gov or another partner specifically identified by the park.
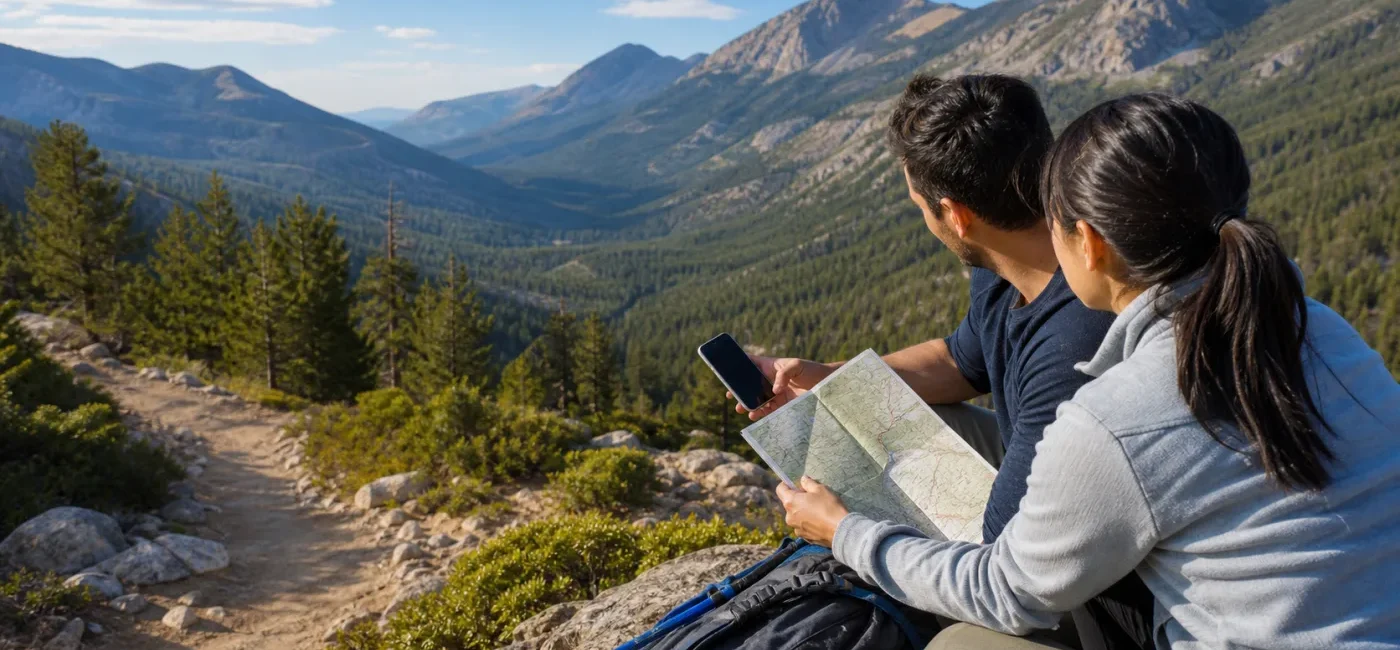
On the first line of your trip note, write the park’s full name, date, intended entrance, vehicle type, group size, and whether you will stay overnight. Similar names can refer to a national park, national monument, state park, or an entirely different location. Save the route recommended by NPS instead of relying on a single map pin. An entrance may close seasonally, a road may restrict long vehicles, and a navigation app can suggest an unpaved or administrative road that visitors should not use.
One of the most expensive trip-planning errors is assuming that one confirmation number covers every part of a visit. Mark each item below as required, not required, or still to be confirmed.
Save a screenshot even when the current rule says no reservation is required. A park can require no reservation for general admission while still requiring one for a particular road, trail, tour, or campground. The answer may also change when you switch dates or entrances.
For a popular release, the time spent texting your group or measuring an RV can cost you the preferred slot. Prepare this information the day before:
Some products offer alerts or a way to watch for returned inventory, but the same feature is not available everywhere. Avoid strangers on social media who promise to transfer a reservation for payment. The reservation may be nontransferable, the name may not be changeable, or the confirmation may be fake. Keep transactions inside the official account and payment flow.
After booking, create one trip folder and store all of the following:
Save the email as a PDF and take a screenshot that you can open without service. Give a copy to another adult in the group and consider carrying one paper copy in the vehicle. Do not post a visible reservation number, barcode, or QR code on public social media. Someone else may be able to misuse it.
If inventory is gone, do not circle an entrance, park on a shoulder, or search for an unofficial access road. Consider a different date, a lower-demand arrival time, another official entrance, a reservation-free section, a visitor-center itinerary, or a nearby national forest, recreation area, or state park. Verify the parking and land-use rules for that alternative; being nearby does not mean the same rules apply.
If you want to watch for cancellations, use the official reservation page and only the alerts it provides. Automated booking tools and unofficial resale services may violate terms or expose you to fraud. If flights are part of the trip, do not let one timed-entry slot become the only purpose of the entire itinerary. Add nearby alternatives and review Smartor’s flight delay and cancellation checklist before departure.
A blog post read months ago is not a current-conditions report. Check the park’s Alerts and Current Conditions about 72 hours before arrival, again the night before, and once more before leaving. Look for entrance, road, shuttle, visitor-center, restroom, water, and trail closures as well as wildfire smoke, extreme heat, flooding, lightning, snow, construction, and wildlife-related restrictions.
“The park is open” does not mean every road and facility is open. A single trail closure does not necessarily mean the entire park is closed. Read which area and time the notice covers, then compare it with your route. For a long drive, check the last reliable fuel stop or EV charger and the hours of nearby water and restroom facilities. If smoke is expected, use Smartor’s AQI, air-cleaner, and N95 checklist to make a more informed plan.
NPS says its official app provides maps, park places, accessibility information, news, alerts, and downloadable park content for offline use. Download the destination over reliable Wi-Fi at home or at your hotel. Then turn on airplane mode and confirm that the material opens. Do not make the app your only navigation layer: carry a paper map or saved PDF, a car charger, and a portable battery.
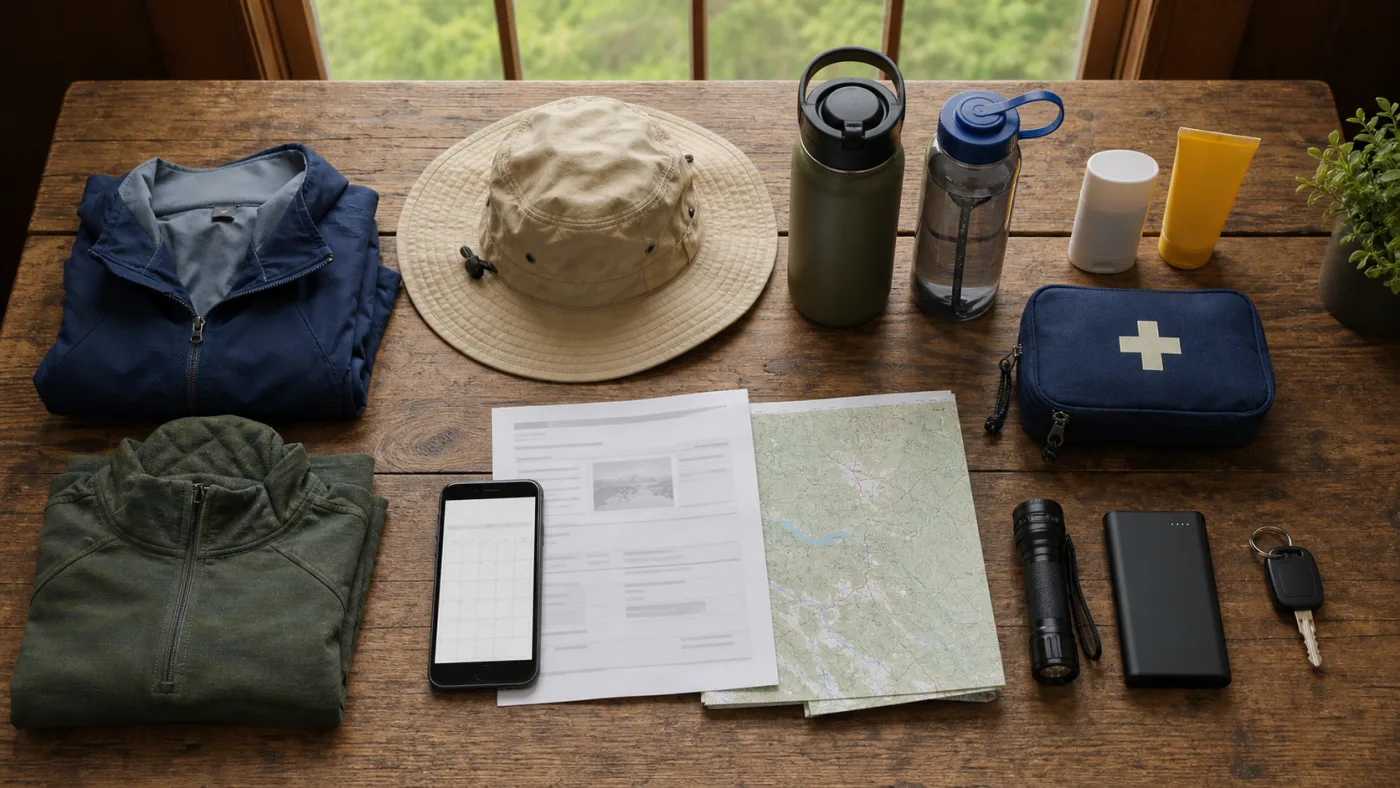
The right water, clothing, and equipment depend on the activity, elevation, season, fitness, and individual medical needs. The NPS Ten Essentials cover navigation, sun protection, insulation, illumination, first aid, fire, repair tools, extra food, hydration, and emergency shelter. Do not leave water and light behind because the outing looks short. At the same time, carrying unfamiliar equipment does not make an ambitious backcountry plan safe. For personal medication records and backups, see Smartor’s emergency medication and medical information kit guide.
Suppose a family of four wants to enter a popular park Saturday morning and take a short afternoon hike. Search results mix “entry tickets,” “shuttles,” and “tours.” The family first uses the park’s NPS page to determine whether Saturday requires one timed vehicle reservation, individual tickets, shuttle seats, or some combination. They then open the official product page and check quantity, reservation-holder identification, entry window, entrance, and cancellation terms.
After booking, they save the confirmation, official map, closure notice, and forecast in one folder. A road-work alert 72 hours before the trip leads them to leave earlier. The night before, each traveler packs water and a layer. They download the park for offline use and keep a paper map in the vehicle. If the main lot fills, they will not park on the shoulder; they will switch to the visitor center or a preselected reservation-free area. If afternoon lightning becomes likely, the preset turnaround time takes priority over completing the trail.
The important lesson is that a successful reservation is not the same as a successful trip. It solves one entry requirement. The plan still needs alternatives for roads, parking, weather, connectivity, and the group’s abilities.
Accessible parking, shuttle lifts, restrooms, boardwalks, audio or visual support, and service-animal policies vary by park and facility. An “accessible” label alone does not tell you the slope, surface, distance, or operating schedule. Review the park’s Accessibility page and contact the visitor center with specific questions. The NPS app’s accessibility details can be a useful additional planning layer.
With children, reduce distance and exposure instead of simply adding one break to an adult itinerary. For pets, check permitted areas, leash rules, lodging, shuttle access, and how you will avoid leaving an animal in a hot vehicle. Never approach or feed wildlife. Follow posted distances and the rules for that park.
Do not assume that it does. A pass relates to entrance fees, while timed entry, vehicle reservations, tours, camping, and permits may have separate terms. Check the park notice and the individual reservation page for your date.
A product may also require identification, vehicle details, a separate entrance fee, or another permit. Read the “What to bring” and check-in sections. Save the confirmation as an offline PDF and screenshot.
Grace periods and late-arrival rules vary. Review the confirmation and product page instead of guessing. If a delay is likely, use the official contact information shown for the reservation.
The rules may differ when the operator cancels and when a visitor chooses not to travel. Check the reservation notice and policy for refund eligibility and timing.
You can download park content for offline use, but an offline copy should not be expected to contain every live change. Check alerts just before departure and carry a paper map and backup power.
The relationship between lodging and entry rules varies by park. Read what the confirmation includes and verify whether a separate vehicle reservation or permit is required.
Unofficial resale can expose you to fraud or conflict with nontransferable-booking rules. Use official returned inventory, alerts, lotteries, alternative dates, or different areas. Do not send payment to a stranger for a confirmation code.
Last updated August 21, 2026. Recheck current notices for the specific park and reservation product before traveling.
브라우저 메뉴에서 앱 설치 또는 홈 화면에 추가를 선택해 주세요.
[…] Smartor 편집팀 August 21, 2026 Read this guide in English → […]