U.S. Airport Security and Carry-On Guide: Liquids, Batteries and Medication
Smartor 편집팀
August 29, 2026

Airport security goes more smoothly when you prepare before you reach the line. The way you separate liquids, portable chargers, medications, and identification at home can determine whether you need to unpack your bag at the checkpoint—or leave an item behind. In the United States, “allowed in a carry-on” and “allowed in checked baggage” are not always the same. An item may also require extra screening because of its size, packaging, battery condition, or an alarm.
This guide follows current Transportation Security Administration (TSA) and Federal Aviation Administration (FAA) guidance and organizes the process in the order most travelers actually need it: the night before the flight, at the airport, at the checkpoint, and during an unexpected gate check. Airlines and destination countries may impose additional or stricter rules. TSA officers also make the final decision at the checkpoint and may require extra screening or prohibit an item when there is a security concern.
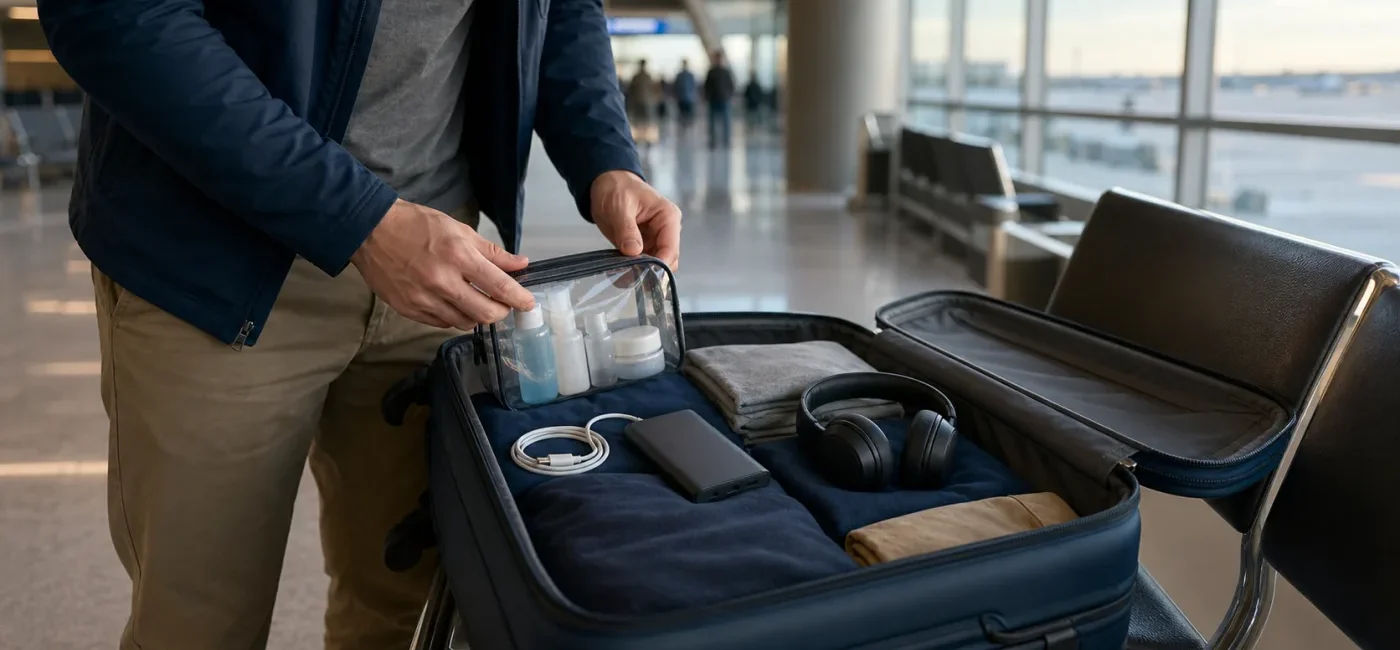
Lay out your belongings and create four physical zones: items that stay on your person, items for your carry-on, items for checked baggage, and items that stay home. This is more reliable than filling a suitcase first and searching for problem items later.
Put your identification, wallet, eyeglasses, phone, and essential medication in one small pouch or dedicated pocket. Your ID should not be buried inside a suitcase you need to unzip at the front of the line. It is also useful to write down your airline confirmation number or carry a printed itinerary in case your phone battery dies.
Keep portable chargers, spare batteries, camera batteries, valuables, prescriptions needed during the trip, and a minimal change of clothes in the cabin. Packing enough essentials for roughly a day can help if checked baggage arrives late. Sharp tools, sporting equipment, and other unusual items should be checked individually through TSA’s “What Can I Bring?” tool rather than assumed to be acceptable.
Ordinary shampoo, lotion, beverages, and similar liquids in containers larger than 3.4 ounces can go in checked baggage when otherwise permitted. Tighten caps, use a leak-resistant bag, and cushion breakable bottles between clothing. Do not move power banks or spare lithium batteries into this zone. If you check a device with an installed battery, verify the airline and FAA rules, fully power it off when required, and protect it from accidental activation and damage.
Leave behind unnecessary knives, large tools, flammable products, unfamiliar cartridges, and batteries that are swollen, damaged, or recalled. If you cannot confidently classify an item, use TSA’s official item search and the airline’s dangerous-goods page before travel day. The checkpoint is a poor place to solve an avoidable packing question.
TSA summarizes the standard rule as containers of 3.4 ounces or 100 milliliters or less, one clear quart-size resealable bag, and one bag per passenger. The rule covers more than drinks. Toothpaste, creams, gels, sprays, some cosmetics, and spreadable foods such as peanut butter can fall under the liquids rule. A useful question is whether the product can be poured, spread, sprayed, or squeezed at room temperature.
Real-world example: A 6-ounce sunscreen bottle with only 1 ounce remaining is still a 6-ounce container, so it does not fit the standard 3-1-1 rule. A properly labeled 3-ounce travel container is easier to screen. Do not transfer prescription products casually when the original label may be important for identification or destination rules.
TSA allows frozen items when they are completely frozen solid at screening. If they are partially melted, slushy, or contain liquid at the bottom, the ordinary liquids rule may apply. Cooling materials used for medically necessary items can be screened under a medical exception; tell the officer before screening. Consider how the item will look after travel to the airport, not only how it looked when it left your freezer.
Portable chargers and spare lithium-ion or lithium-metal batteries must be carried in the aircraft cabin, according to FAA PackSafe guidance. A battery fire is harder to detect and manage inside the cargo hold. Protect each battery from contact with coins, keys, or other metal objects by using its original packaging, a battery case, a protective cap, an individual plastic bag, or tape over exposed terminals.
If the label lists volts (V) and amp-hours (Ah) instead of watt-hours, Wh is generally calculated as V × Ah. Divide milliamp-hours (mAh) by 1,000 to convert to Ah. For example, a 3.7 V, 10,000 mAh battery is 3.7 × 10, or 37 Wh. When a label is unclear, do not rely on an estimate alone; ask the manufacturer or airline.
Medically necessary liquids, gels, and aerosols can be carried in reasonable quantities above 3.4 ounces. Keep them in a separate pouch rather than forcing them into the standard quart-size toiletry bag. Tell the TSA officer about them before screening begins. Officers may propose opening a container or testing a small amount. If a procedure concerns you, ask what alternative screening methods may be available before the process starts.
A prescription is not an absolute TSA screening requirement for every medication, but original pharmacy labels can make identification and schedule explanations easier. State and destination-country drug laws are separate from TSA rules. International travelers should verify whether an ingredient is controlled at the destination. Keep needles, syringes, insulin, CPAP supplies, or assistive devices together with their related medical products and explain their purpose to the officer.
Travelers who need help because of a disability, medical condition, or medical device can contact TSA Cares at least 72 hours before departure. Assistance does not waive screening, but it can help coordinate support from a Passenger Support Specialist at the airport.
Adults age 18 and older need identification accepted by TSA at the airport security checkpoint. After REAL ID enforcement began, travelers using a state-issued driver’s license or ID need to confirm that it is compliant, while a passport and other listed documents may also be accepted. Because the accepted-document list and treatment of expired identification can change, use TSA’s official identification page for the current details.
Compare the name on your airline reservation with the identification you intend to use. Marriage, divorce, a legal name change, or inconsistent use of a middle name can create a correction issue that is easier to address before travel day. If your U.S. passport needs renewal, Smartor’s online U.S. passport renewal guide explains eligibility, photo preparation, and the application sequence.
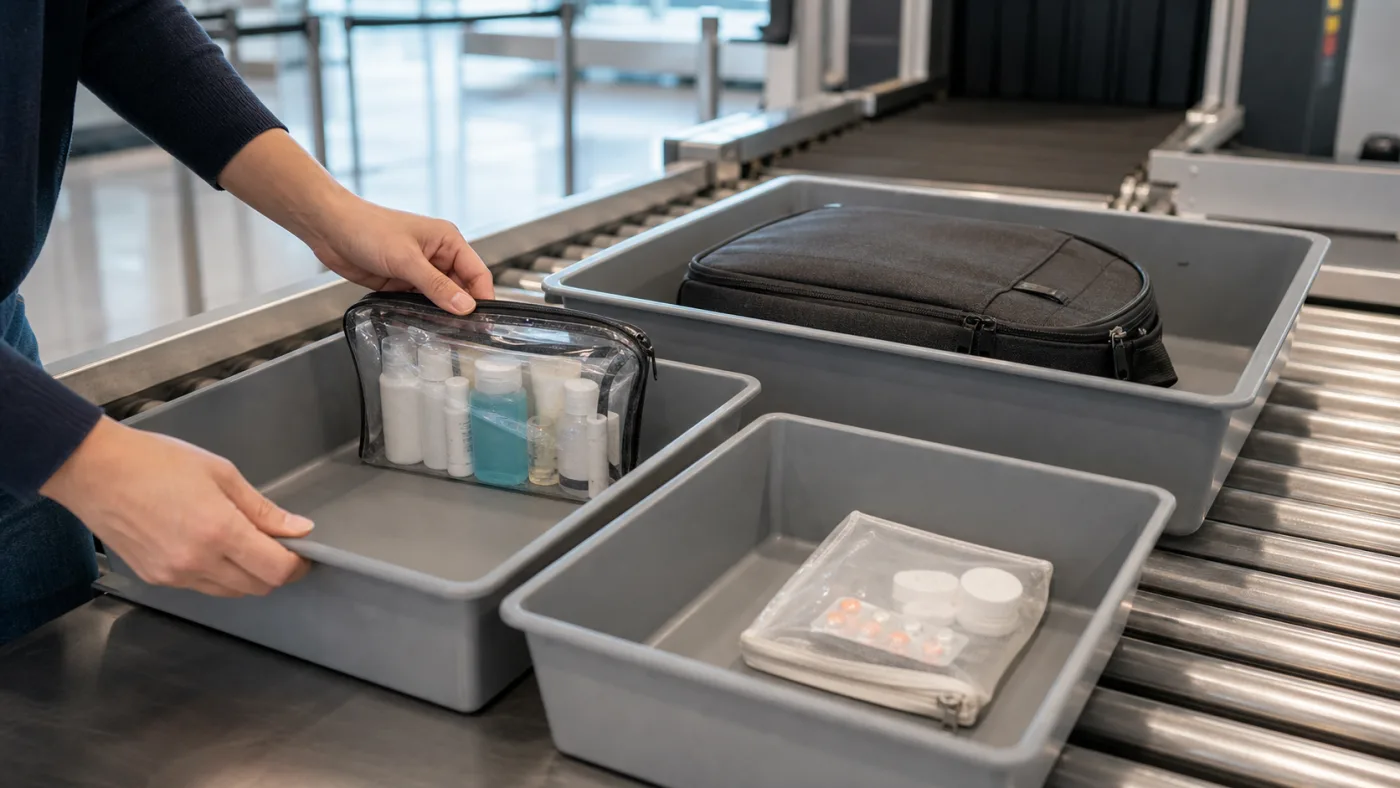
Not every airport or checkpoint lane uses the same equipment. Some lanes may allow electronics or the liquids bag to remain packed, while another lane may require removal. Follow the signs and the officer’s instructions for your lane instead of copying the passenger ahead of you. TSA PreCheck can simplify some procedures, but it does not waive restricted-item rules.
Breast milk, formula, toddler drinks, and baby or toddler food can be carried in reasonable quantities outside the standard 3-1-1 limit. TSA states that breast milk may be transported even when the child is not present. Tell the officer before screening, remove these items from the carry-on, and be prepared for additional inspection. Present related cooling packs and accessories at the same time.
An officer may need to open a package to inspect its contents, so wrap gifts after arrival whenever practical. Dense foods and boxed electronics can attract additional screening. Keep valuables in your carry-on rather than checked baggage when permitted, while still following size and hazardous-material rules.
An item permitted in the United States may be restricted by the destination country’s security or customs rules. Duty-free liquids can depend on tamper-evident packaging, receipts, and whether you are screened again during a connection. Check the airline and the official sites for every connection and destination, not only the departure airport.
The traveler puts a 90 mL shampoo, 50 mL sunscreen, toothpaste, and gel in one quart-size bag near the top of the carry-on. A 20,000 mAh portable charger goes in the cabin after the traveler verifies its Wh rating and protects the terminals. An empty water bottle sits in the side pocket. A large body lotion stays home because there is no checked bag. Everything likely to be inspected is grouped and accessible.
The traveler separates the standard toiletry bag from a medical pouch, keeps the medication in its original labeled container, and carries a reasonable trip supply plus a modest delay buffer. Before screening, the traveler tells the officer about medically necessary liquid and allows time for separate inspection. If refrigeration is required, the cooling pack is presented with the medication and storage contingencies are planned for the destination.
When overhead space is limited, the traveler removes the portable charger, spare camera batteries, medication, ID, phone, and valuables into a small personal pouch before surrendering the carry-on. The traveler closes the zippers and keeps the baggage receipt. If the flight later changes, Smartor’s flight delay and cancellation checklist can help organize rebooking, refund, and documentation steps.
A fully empty reusable bottle is generally allowed. Empty it before screening and refill it afterward. Its design or an alarm may still lead to inspection, and the TSA officer makes the final decision.
Many solid foods can travel in carry-on or checked baggage, but creamy, gel-like, saucy, or spreadable foods may be treated as liquids. Customs and agriculture rules are separate from security rules, so international and certain regional trips require an additional destination check.
TSA generally permits pills in carry-on and checked baggage, but state and destination-country labeling rules can differ. Original pharmacy labeling makes identification easier. Ask a clinician or pharmacist about your personal dosing and storage needs.
A power bank may travel in carry-on baggage when it meets the applicable limits and its terminals are protected, but an airline or crew may restrict storage or use. If it becomes hot, swells, smells unusual, smokes, or is damaged, stop using it and alert a crew member immediately.
No. PreCheck can streamline parts of the screening process, but it does not eliminate hazardous-material or restricted-item rules. Follow the instructions for the airport, lane, and your current eligibility.
TSA may use an identity-verification process in some cases, but it is not a boarding guarantee and can require extra time and screening. Bring any other accepted document available, arrive early, and explain the situation to the airline and TSA. A traveler whose identity cannot be verified or who declines the process may not enter the screening area.
There is no single time that works for every airport and trip. Airport size, holiday crowds, an international itinerary, checked baggage, parking, shuttles, and requested medical assistance all matter. Check the airline and departure airport’s same-day recommendations and security-wait information, then add a reasonable buffer for your circumstances.
The best airport-security shortcut is good sorting. Put standard liquids in the 3-1-1 bag, medically necessary liquids in a separate pouch, power banks in the cabin with protected terminals, and identification where you can reach it. One final check of your airline and destination rules can prevent a rushed repack, an abandoned item, or an avoidable delay at the checkpoint.
This article provides general U.S. travel information. It does not replace an airline’s contract of carriage, destination-country law, or individualized medical or legal advice. Rules can change; confirm current guidance with TSA, FAA, your airline, and the relevant destination authorities before departure.
브라우저 메뉴에서 앱 설치 또는 홈 화면에 추가를 선택해 주세요.