Fall Home Heating Startup Checklist: Furnace, Heat Pump and CO Safety
Smartor 편집팀
September 3, 2026

The first cool morning of fall is a poor time to discover that a heating system will not start, a return vent is blocked, or a carbon monoxide alarm has expired. A deliberate pre-season check lets you find ordinary maintenance issues before cold weather turns them into an urgent repair. It also helps separate safe homeowner tasks—looking, cleaning accessible areas, testing alarms and documenting symptoms—from work that belongs to a qualified HVAC professional.
This guide covers gas and oil furnaces, boilers, ducted and ductless heat pumps, and electric resistance heat. The systems do not work the same way, so the right first step is identifying what you have. Never open a combustion chamber, adjust a burner, work on gas piping, touch exposed wiring, add refrigerant, or bypass a safety control. Those jobs require training, instruments and, in many jurisdictions, a license.
This article provides general U.S. home-maintenance and safety information, not individualized technical, medical or legal advice. Follow the equipment manual, local building and fire codes, your lease, and instructions from your utility or fire department. If a carbon monoxide alarm sounds or anyone has possible CO symptoms such as headache, dizziness, nausea, weakness, sleepiness or confusion, move everyone to fresh air immediately and call 911 from outside.
A gas furnace burns fuel and moves heated air through ducts. A boiler circulates heated water or steam through radiators or floor piping. A heat pump transfers heat rather than creating all of its heat through electrical resistance; some systems use auxiliary electric heat or another backup source during colder conditions. Electric baseboard heaters warm individual rooms with resistance elements. The correct filter, normal operating sounds and service needs vary by system.
Photograph the manufacturer and model information for your records, but do not post a full serial number publicly. If a heat-pump thermostat displays Heat, Auxiliary Heat and Emergency Heat, do not treat Emergency Heat as a “faster” everyday setting. It generally bypasses normal heat-pump operation and can change how the home is heated and how much electricity it uses. Consult the manual or an HVAC professional before selecting it.
Review the lease to learn whether the tenant replaces filters or the landlord supplies them, how to submit maintenance requests, and who has access to a locked mechanical room or shared boiler. Do not work on common equipment, gas valves or rooftop vents. A useful maintenance request includes the equipment type, thermostat setting, indoor temperature, exact fault message, time the problem started, unusual sound or odor, and whether an alarm activated.
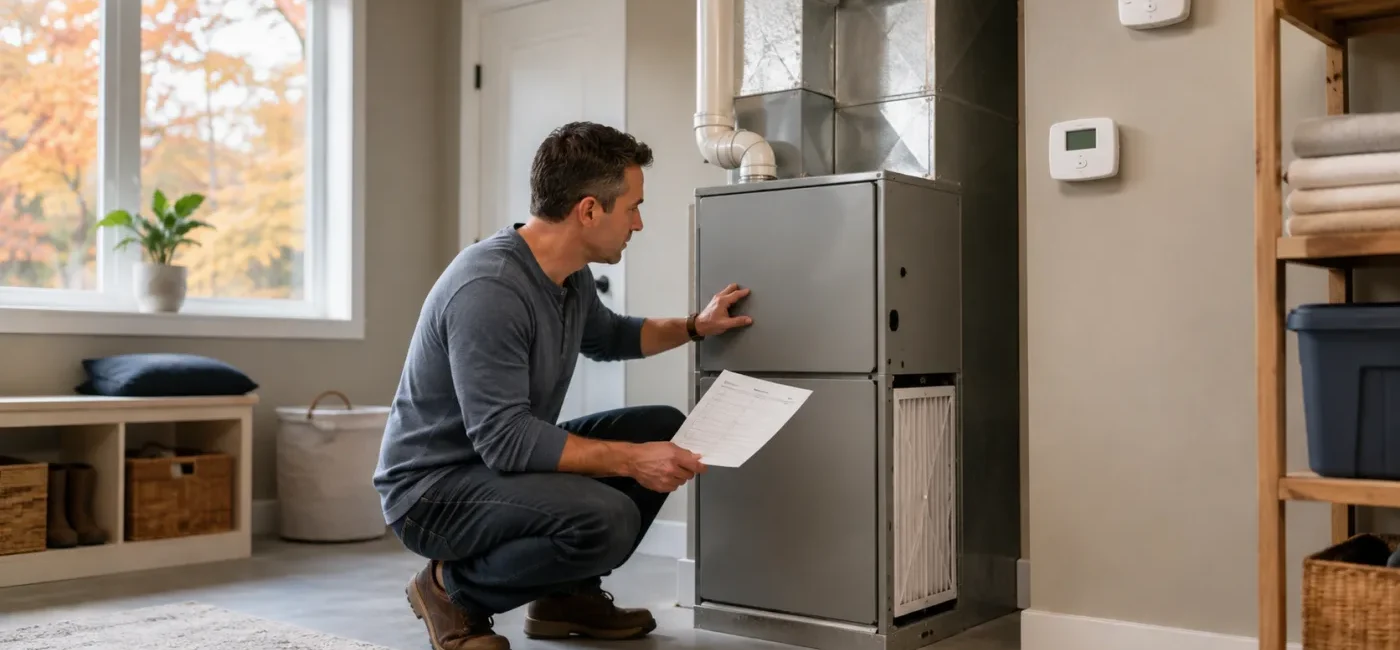
A furnace or boiler room should not become overflow storage. Move paper, cardboard, paint, volatile cleaners, gasoline-powered equipment, fabric and laundry away from the unit. Keep a clear path to the service panel and emergency shutoff. From ground level, look for leaves, nests, plastic, snow or other material blocking accessible intake and exhaust terminations. If inspection requires a ladder or roof access, hire an appropriate professional.
Walk through every room and uncover supply registers and larger return grilles. Furniture, curtains, rugs and toys can restrict airflow. Closing many registers in unused rooms can also change system pressure and balance. Unless the equipment instructions or an HVAC professional say otherwise, do not try to cut costs by shutting most of the home’s vents.
A light layer of dust on equipment or in ducts can produce a brief dry odor during the first heating cycle. Stop and get help, however, if an odor grows stronger, persists, smells like burning plastic or wiring, or accompanies smoke, soot, visible flame, a fuel odor, or a tripped breaker. If you suspect a gas leak, do not operate light switches, electrical devices or a flame to search for it. Leave the building and contact the gas utility’s emergency line or 911 from outside.
Read the length, width and thickness printed on the old filter and use the size specified for the equipment. A filter that is forced into the slot or leaves a gap can restrict flow or allow air to bypass the media. The arrow on the filter frame normally points in the direction of airflow toward the equipment, but the unit label and manual are the final authority.
A higher filter rating is not automatically better for every system. Denser media can add resistance that an older blower or a particular duct design was not intended to handle. If particle control is important because of allergies or indoor-air concerns, ask what range the system can support instead of buying the densest filter available. ENERGY STAR advises inspecting, cleaning or changing central HVAC filters monthly; the actual replacement schedule depends on the filter, equipment instructions, pets, construction dust and operating hours.
If the same central system provides cooling, use the pre-heat-wave air-conditioning checklist before summer. Cooling and heating share equipment in many homes, but their seasonal inspection points are not identical.
Carbon monoxide cannot be seen or smelled. The U.S. Consumer Product Safety Commission recommends battery-operated CO alarms or alarms with battery backup on every level of the home and outside sleeping areas, with batteries checked regularly. Placement details can vary by product and local code, so follow the alarm manual rather than choosing a location based only on convenience.
A test button confirms parts of the alarm circuit and audible warning; it may not be a complete test of how the device senses CO in the room. Check the manufacturer’s service-life information and end-of-life signal. Replacing a battery does not indefinitely extend an expired sensor. For family members who are deaf or hard of hearing, review compatible visual or vibrating notification devices and interconnected alarms.
An outdoor heat-pump unit exchanges heat with outdoor air even while heating the home. Clear dry leaves, weeds, plastic and small branches from the surrounding area, maintaining the clearance stated in the manufacturer’s instructions. Do not push tools into the coil fins, use a pressure washer, or open an access panel. Photograph and report a tilted pad, unsupported line, exposed wire or obvious physical damage.
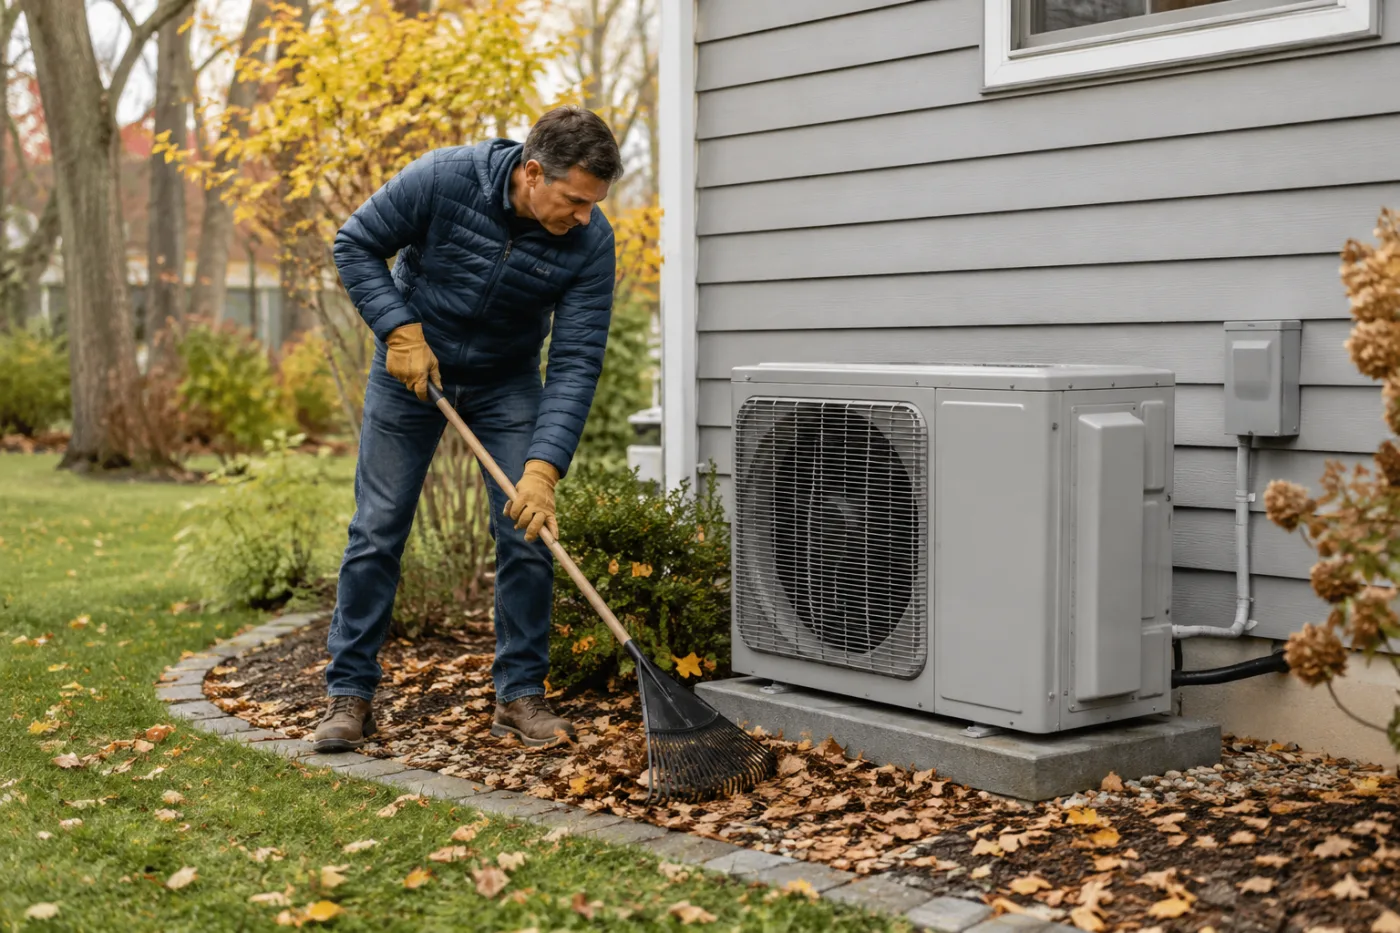
Frost can form on an outdoor coil in heating mode and later melt during a normal defrost cycle. You may see vapor and hear a temporary change in operating sound. Request service if heavy ice remains for an extended period, the fan contacts ice, fault codes repeat, or drainage freezes across a walkway. Do not chip ice with a sharp tool or pour boiling water over the equipment.
After checking the filter, registers and alarms, close exterior doors and windows. Select Heat and set the thermostat a few degrees above the measured room temperature. Many systems include a protective delay, so do not flip modes or power rapidly if startup is not immediate. Wait the amount of time described in the thermostat and equipment instructions.
If one room remains cold, first check for a closed register, blocked return or open window. A persistent difference can involve duct leakage, system balancing, insulation or equipment sizing. Do not “fix” it by closing every other register. Give the contractor the temperature difference, measurement locations and test duration.
ENERGY STAR recommends annual pre-season checkups, with heating equipment serviced in the fall before contractors become busiest. A typical professional visit can include thermostat settings, electrical connections, motor voltage and current, moving parts, controls, and the complete startup-operation-shutdown cycle. For gas or oil systems, fuel connections, gas pressure, burner combustion and the heat exchanger require trained evaluation.
Ask for a written scope before agreeing to a generic “tune-up.” Licensing and insurance requirements vary by state and locality, so verify the business through the relevant government regulator. Ask whether diagnostic charges, labor, parts and travel are included, and whether repairs require approval before work begins. Never agree to bypass a safety control or remove a working CO alarm to keep equipment running.
Soot, corrosion, new water stains, an apparently loose vent connection or repeated ignition noises are reasons to stop and request professional inspection. Do not adjust flame color or fuel pressure yourself. The EPA recommends annual inspection, cleaning and tune-up of central heating systems—including furnaces, flues and chimneys—by a trained professional.
Document water marks, corrosion around valves, an unusual pressure-gauge reading, repeated need for makeup water, or persistent knocking. Do not touch hot piping or a safety relief valve, and do not release system pressure without qualified guidance. Keep furniture and long curtains from blocking radiators and protect children from hot surfaces.
Remove paper, fabric and furniture from the clearance area specified by the manufacturer. Report a damaged cover, scorched outlet or discolored wiring device. Follow the portable heater instructions, including any requirement to plug directly into a wall outlet rather than an extension cord or power strip. Turn portable heaters off when leaving the room or going to sleep.
Consider a two-story house with a gas furnace and central air. The homeowner first retrieves the model information and last year’s service invoice, then checks the manufacture date and test status on every CO alarm. Boxes and cleaning products are moved out of the furnace area. The old filter reads 16×25×1, so a matching replacement is installed in the airflow direction shown on the unit.
Next, the homeowner checks returns on both floors and makes sure bedroom registers are not hidden by furniture. Leaves are removed from accessible outdoor intake and exhaust terminations while the roof and chimney are left to a professional. The thermostat is switched to Heat and raised slightly above room temperature. For 15 minutes, the homeowner records startup sound, odor, airflow and whether the unit stops normally.
The brief dusty odor disappears, but a new water mark remains on the basement floor. Instead of opening the cabinet, the homeowner photographs it and sends the time-stamped observation to the HVAC company. The service date, filter change, estimate and photos go into the household records. The home inventory and insurance documentation guide explains how to keep durable records for repairs and claims.
A thin layer of dust can create a brief dry odor, but elapsed time alone cannot prove that an odor is safe. Shut the system down and seek help if the smell grows stronger, resembles burning plastic, wiring or fuel, or accompanies smoke, soot, an alarm, headache or dizziness. Treat a CO alarm or possible symptoms as an emergency: go outside and call 911.
There is no universal interval. Follow the filter maker and equipment manual, and account for pets, smoking, construction dust, filter thickness and runtime. Inspect it monthly and replace it when dirty, damaged or due under the manufacturer’s schedule.
No. They detect different hazards. Combination products exist, but a smoke alarm does not automatically detect CO. Check the label for sensing functions, approved location, power source and replacement date.
Yes. A defrost cycle can produce visible vapor and a temporary change in sound. Heavy ice that persists, a fan contacting ice, repeat faults or unsafe frozen drainage calls for professional inspection. Do not attack the ice with tools or boiling water.
Ask for the visit date, equipment model, inspection or measurement items, findings, work performed, parts replaced, warranty terms, recommendations and itemized price. If the contractor says the equipment is unsafe, request a written explanation of the observed condition and test result.
Record the temperature, measurement location and time, thermostat setting, fault display and every written request to management. Minimum-heat rules and emergency processes vary by state and city, so check the official local housing agency and your lease. Do not dismantle gas or electrical equipment.
브라우저 메뉴에서 앱 설치 또는 홈 화면에 추가를 선택해 주세요.
[…] Read this fall home-heating guide in English → […]