Fall Scenic Drive Safety Checklist: Roads, Weather, and Daylight
Smartor 편집팀
September 19, 2026

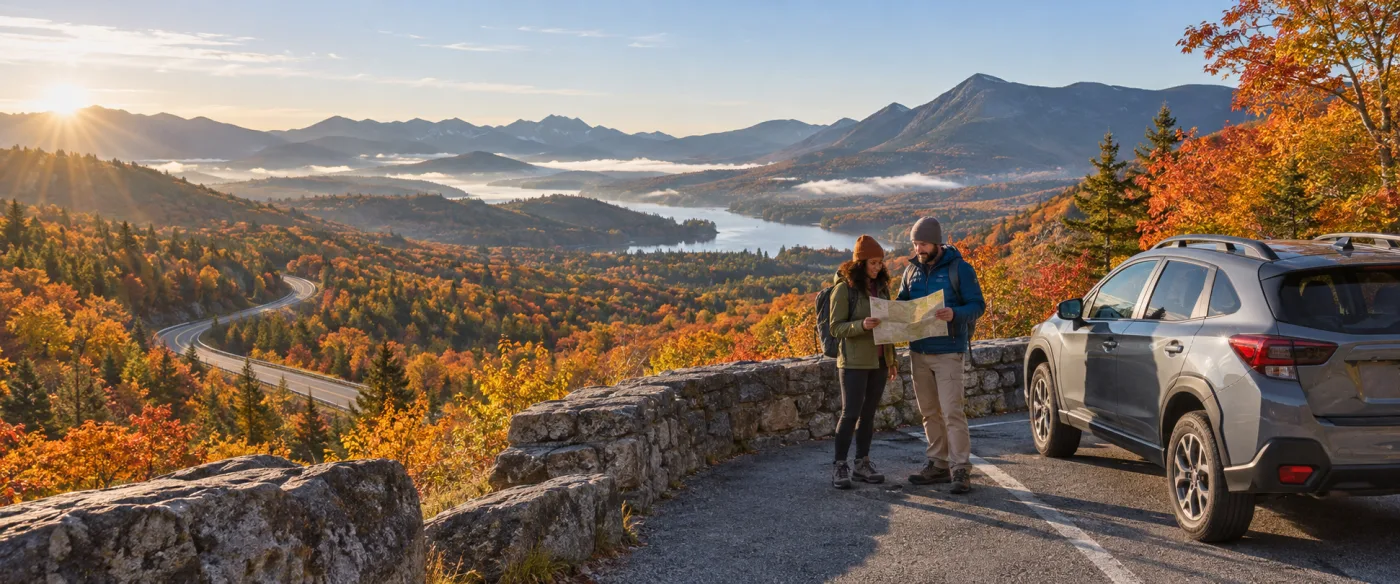
A fall scenic drive can deliver cool air, changing leaves, and memorable mountain views, but it also combines conditions that demand more care than an ordinary summer drive. Daylight shrinks quickly. Wet leaves can hide markings and pavement edges. Shaded high-elevation roads may develop early ice. Popular overlooks attract sudden stops and pedestrians, while wildlife is more likely to enter roads around dawn and dusk.
The goal is not to squeeze in the largest possible number of foliage stops. It is to connect road conditions, weather, sunset, the vehicle, fuel, and rest in one workable itinerary. This guide covers practical safety for U.S. fall drives through scenic byways, state and national parks, mountain roads, and small towns.
This article provides general travel and safety information. Closures, chain or tire rules, park access, parking, wildlife distances, and emergency procedures vary by location and can change quickly. Before departure and again on the travel day, check the relevant state Department of Transportation or 511 service, land-management agency, official weather source, and on-site instructions. Consult a qualified professional who knows your situation about vehicle maintenance, health, mobility, or altitude concerns.
Choosing a destination from scenic photos can hide the details that determine whether the drive works. One byway can cross several elevations and jurisdictions, and a construction or weather detour can add hours. Before building a schedule, put these six items on one page:
Replace “take a foliage drive Saturday morning” with operational details: “enter from the east at 8 a.m., reach the first overlook at 10, finish the short walk before noon, and leave the final overlook by 4 p.m.” Verify those times against official closures, parking locations, operating schedules, driving distance, and current sunset.
Do not treat a colored line in a navigation app as the final word on a mountain road. Apps may show traffic quickly but miss the explanation behind a seasonal closure, construction schedule, vehicle-length restriction, special event, or unpaved detour. Check the route number and segment with the state DOT or 511 traveler-information service. If the drive enters a national park, national forest, or state park, review that agency’s current conditions as well.
If a park or recreation site requires reservations, verify timed entry, vehicle access, shuttles, campgrounds, and activity permits separately from any entrance fee. On Recreation.gov, read the date, arrival window, vehicle or person count, cancellation terms, and identification requirements. Prices and deadlines vary, so use the live official page rather than an old post.
Save closure, detour, and required reservation information offline and send it to another traveler. A useful screenshot shows the route number, direction, effective time, and last update. A paper map helps if a battery dies, but an old map is not proof that a road is open; refresh the official status on the morning of departure.
The fastest route in a navigation app is not necessarily open or appropriate on the day of the visit. Mountain roads can close for snow, ice, fire, construction, rockfall, or flood damage. Some roads restrict vehicle length or height. Entering only a park name may send a traveler to the wrong entrance or an administrative building.
Save separate map pins for lodging, the planned entrance, the visitor center, the first activity, the last activity, and the fuel stop. Compare the navigation route with the park’s official Directions page and any vehicle restrictions. RV and trailer drivers should check turnarounds, grades, and length limits. EV drivers should verify connector type, operating hours, recent availability information, and a backup charger outside the park.
Add time for rest breaks, entrance lines, slow traffic, wildlife jams, and parking searches. A route estimated at 90 minutes should not become a schedule with exactly 90 minutes available. Set the end of the final activity early enough to avoid an unnecessary stretch of unfamiliar mountain driving after dark.
A lodging town can be sunny and mild while a high overlook is cold and windy. A lower canyon may remain hot enough for dehydration risk. Review the broad pattern five to seven days before the trip, the hourly forecast about 48 hours before departure, and park alerts plus official weather information again on the morning of the visit.
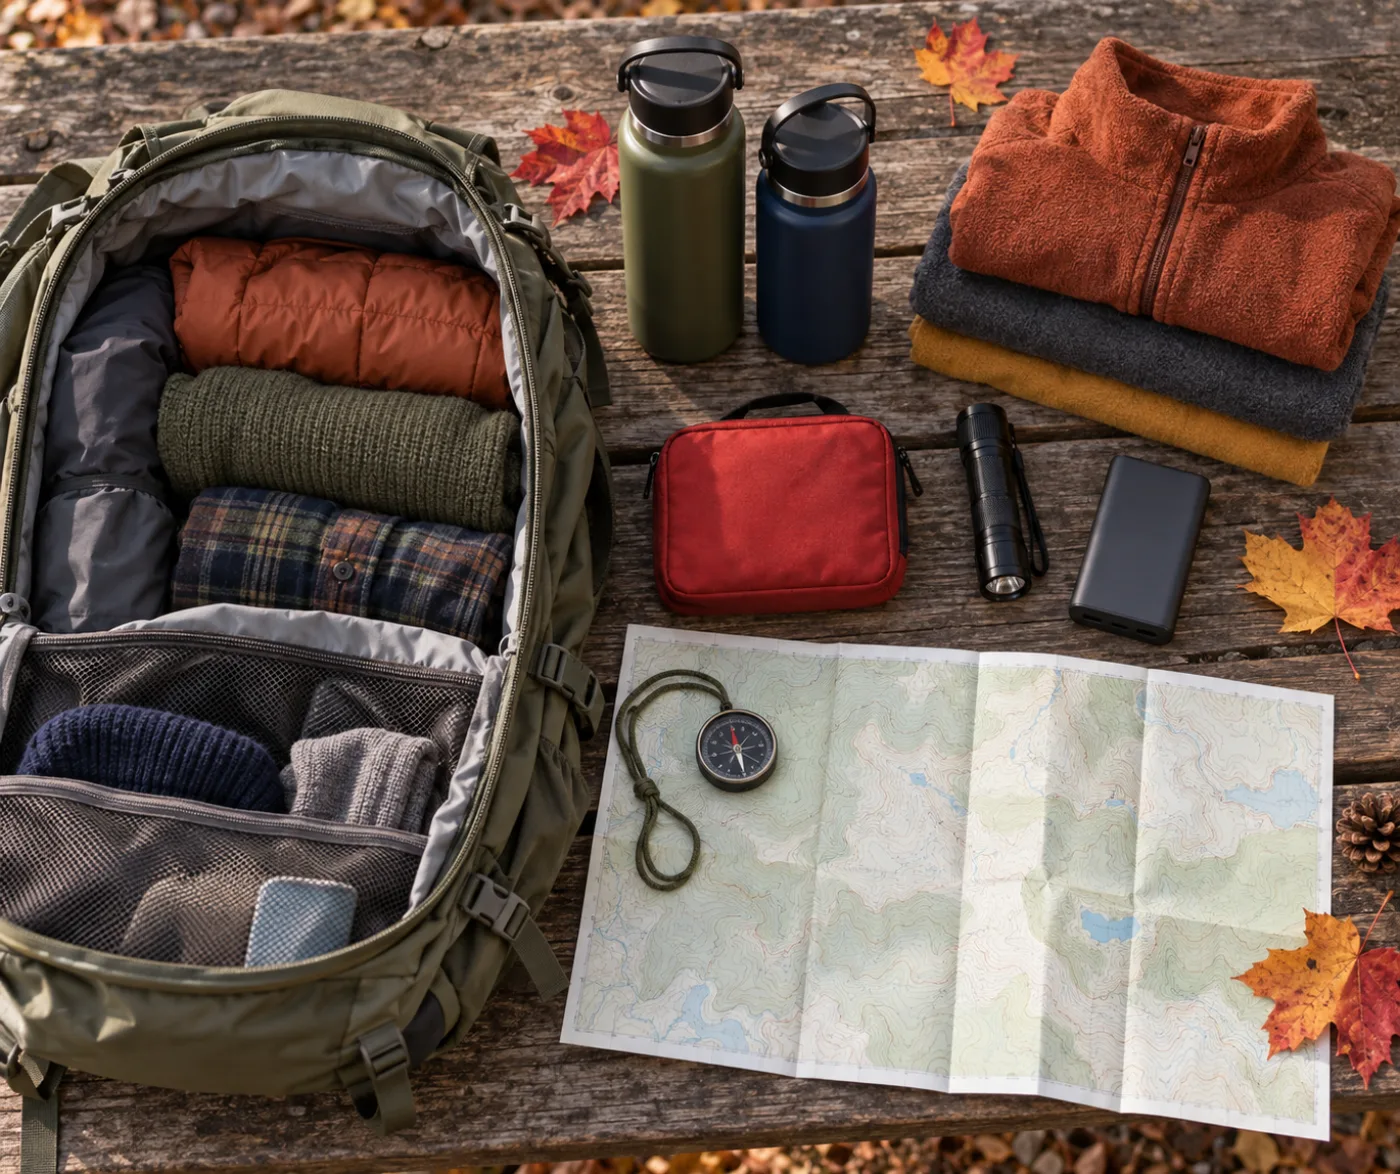
Layering is more adaptable than relying on one heavy coat. Choose a moisture-managing base layer, an insulating layer, and an outer layer suited to wind and rain. Pack spare socks and, where conditions call for them, gloves and a warm hat. If conditions deteriorate beyond the group’s plan or equipment, shorten the route or turn around even when a reservation has already cost money.
Scenic routes often cross rural or mountain areas with weak coverage. Download the driving route and surrounding area. If the route enters a national park, the official NPS App can also provide park maps, amenities, accessibility information, news, and alerts for offline use. On reliable Wi‑Fi, download what you need and test whether the map and files open in airplane mode.
Keep the following items together in an offline trip folder:
Charge a power bank before departure and test the correct cable. Do not assume the car will always be available to recharge a phone. Electronics should still have a backup. Carry the latest paper map from a visitor center or a printed overview of the main route, and let a passenger handle navigation while the driver watches the road.
Share the file locations with the group. Keeping every confirmation and map on the driver’s phone creates both a battery vulnerability and pressure to use the device while moving. A passenger should handle updates, or the driver should pull completely into a designated safe location before reviewing a reroute.
Large day-to-night temperature changes, long descents, and isolated fuel stops can expose vehicle problems during a fall road trip. Several days before departure, check tire pressure and tread, brake warning signs, wipers, headlights, brake lights, coolant, and oil as appropriate for the vehicle. With a rental car, photograph or record all sides, wheels, glass, and existing damage before leaving. Locate the spare tire or repair kit and save the rental company’s emergency instructions.
Do not assume fuel is available inside the park. Estimate the round trip, include a detour allowance, and refill with a comfortable reserve. EV drivers should verify more than a charger icon on a map: check the connector, hours, current status information, and alternate stations. Cold temperatures, elevation changes, cabin heat, and congestion can affect driving range.
On a steep descent, use the transmission and braking method described in the vehicle manual instead of riding the brake pedal continuously. Learn an unfamiliar rental’s lights, defroster, wipers, parking brake, and fuel-door release before reaching the mountains. Never stop in a travel lane to photograph wildlife. Pull the entire vehicle into a designated safe turnout.
Wet leaves can reduce traction and hide lane markings, drains, pavement edges, and potholes. On a leaf-covered curve, avoid abrupt braking, acceleration, and steering, and increase following distance. Do not drive through a leaf pile or puddle when its depth or the pavement underneath is unknown. Slow down when fog or low-angle sunlight reduces visibility, and use lights, wipers, and defogging controls according to the vehicle manual.
A long photography day can also end with a fatigued late-afternoon drive. NHTSA reports that drowsy-driving crashes occur frequently not only between midnight and 6 a.m. but also in the late afternoon, and they often occur on rural roads and highways. Adequate sleep is the foundation. Repeated yawning, missed signs, lane drift, or hitting a rumble strip calls for more than an open window or loud music. Stop at a safe, lighted, designated location, switch drivers or rest, and end the itinerary if alertness does not return.
Round-trip mileage alone does not reveal elevation gain, loose surfaces, stairs, exposed edges, altitude effects, or the time needed to return. The NPS advises visitors to choose a trail that fits the group, leave a trip plan with a trusted person, and avoid relying exclusively on a cell phone. Rangers and visitor center staff can provide same-day information about surfaces, water availability, and closures.
Put a turnaround time on the itinerary, not just a start time. Begin the return at that time even if the group has not reached a summit or waterfall. Stay together and let the slowest member set the pace. Regroup at junctions. Use conservative distance and elevation goals when traveling with children, older adults, people who are not acclimated, or anyone managing a recent health change.
Navigation, water, food, weather-appropriate clothing, light, sun protection, first-aid supplies, and personal medication are common essentials, but the amount and equipment depend on the location and activity. Backcountry and technical routes may require training, specialized gear, and permits beyond this general guide. Follow park-specific instructions.
Fall feeding and mating behavior can make wildlife more active and unpredictable. An animal near a road is not tame. The NPS notes that required viewing distances vary by park, so visitors should read the destination’s rules. In general, an animal that changes its behavior because of a person is being approached too closely. If someone is close enough for a selfie, they should move back.
When wildlife causes a traffic backup, do not lean into the roadway or stop in the opposing lane. Drivers behind may not see the hazard. If there is no safe place to stop, continue carefully and use the next designated viewing area.
Consider two travelers reaching lodging near a scenic byway on Friday evening and driving it on Saturday. They do not add a night mountain drive after a long trip. After check-in, they refuel, review state DOT or 511 conditions, check the next day’s hourly forecast, and open any required park confirmation. They download maps for offline use and confirm construction between the hotel and the planned entry road.
On Saturday they leave after adequate sleep and once there is useful daylight. The first activity is the most important short overlook walk. At midday, they use weather and group energy to decide whether to add a second activity. A lower-elevation town or visitor center remains the backup. They leave the final viewpoint early enough to clear the main mountain road in daylight.
If ice closes the high road that morning, they do not force the original route because it was reserved. They switch to a lower-elevation walk and visitor center. If a detour adds two hours, safe driving and a rest break take priority over a dinner reservation. A successful itinerary is one that can end safely when conditions change, not one that completes every line on the list.
Use the U.S. gas-saving road-trip guide to plan fuel stops and the tire recall safety checklist to identify and check tires. Travelers changing hotels can also use the hotel bed bug inspection guide for a practical room and luggage routine.
Not with certainty. Color progression depends on location, elevation, tree species, and that season’s temperature, precipitation, and wind. Recheck official park, forest, or tourism information shortly before departure and keep a town, easy walk, or cultural stop as a backup even if leaves are earlier or later than expected.
No. A screenshot helps when service drops, but crashes, weather, and construction can change. Refresh the official status before departure. While moving, a passenger should check updates, or the driver should pull completely into a safe location before using a phone.
Cooler air does not remove the need for hydration. Distance, elevation, wind, exertion, individual health, and reliable water availability all matter. Follow the park’s current guidance and carry enough for the planned conditions.
A normal phone call may not connect where no compatible network is available. Do not make a cell phone the only emergency plan. Leave the itinerary with a trusted person and review the park’s communications and emergency guidance. Satellite features and personal locator devices also require advance checks of coverage, subscription, battery, and operating procedure.
Follow official park alerts, physical barriers, road signs, and ranger directions. Never bypass a closure or take an unofficial track around it. Use an official detour or the preselected Plan B.
Minimum distances vary by species and park. Read the destination’s rules and increase distance whenever the animal notices or reacts to people. Never approach, feed, or position yourself for a close selfie.
Group stops along the same road, place the highest-priority stop early, and establish an end time for the final activity. Include parking, restroom, food, and photo time, and decide in advance which stop will be removed when the schedule slips.
Before pulling away, say the list aloud: road status, entry road, weather, sunset, tires, fuel, offline map, water, warm layer, and return contact. A missing item can justify a short delay or a smaller itinerary. The measure of a good fall scenic drive is not the number of checkpoints completed; it is whether everyone returns safely while respecting wildlife, other visitors, and the place itself.
브라우저 메뉴에서 앱 설치 또는 홈 화면에 추가를 선택해 주세요.