Passkey Setup and Account Recovery Guide: Prepare Before You Lose a Device
Smartor 편집팀
September 5, 2026

If the day you lose your phone is the first time you think about account recovery, you may discover that every backup path depended on that same phone. Passkeys can make everyday sign-in easier and more resistant to phishing, but a passkey is only one part of a sound account plan. You also need a tested way back in after a device is lost, replaced, damaged, or locked.
This guide walks U.S. consumers through setting up passkeys and organizing recovery email addresses, phone numbers, backup codes, authentication apps, and hardware security keys. Menus vary by company and change over time, so the focus is on a repeatable decision process. If you already see unfamiliar sign-ins or recovery changes, skip to the incident-response section before adding anything new.
A passkey uses a pair of cryptographic keys. A website keeps the public key, while the private key stays under the control of your device, security key, or credential manager. When the site sends a challenge, your device signs it after you approve the action with a screen-lock method such as a face scan, fingerprint, device PIN, or password. In a normal passkey flow, the biometric itself is used locally to unlock the credential; it is not sent to the website as your login secret.
One major advantage is that the credential is bound to the real website domain. A convincing fake page cannot simply collect a reusable password and replay it at the real site. That makes properly implemented passkeys a phishing-resistant option. The important caveat is recovery: if an attacker can reset the account through a weaker email address, an outdated phone number, or a poorly protected help-desk process, the strongest front door does not protect the side door.
Do not try to convert every account in one sitting. Start with the primary email account that receives password-reset links for other services. Next review your mobile carrier account, credential manager, financial accounts, cloud storage, and social media. If a phone number is part of recovery, pair this work with the SIM-swap protection checklist.
Create a simple inventory with four fields: service, current sign-in methods, backup methods, and last-tested date. Do not put actual passwords or backup codes in an unprotected spreadsheet. A note such as “printed codes in locked document box” is enough to help you find the material without turning the inventory into a master key.
Be careful about adding another person’s fingerprint or face to a device for convenience. Anyone who can unlock that device may also be able to approve use of the passkeys stored on it. For a genuinely shared service, use family sharing, delegated access, or separate user profiles when the provider offers them.
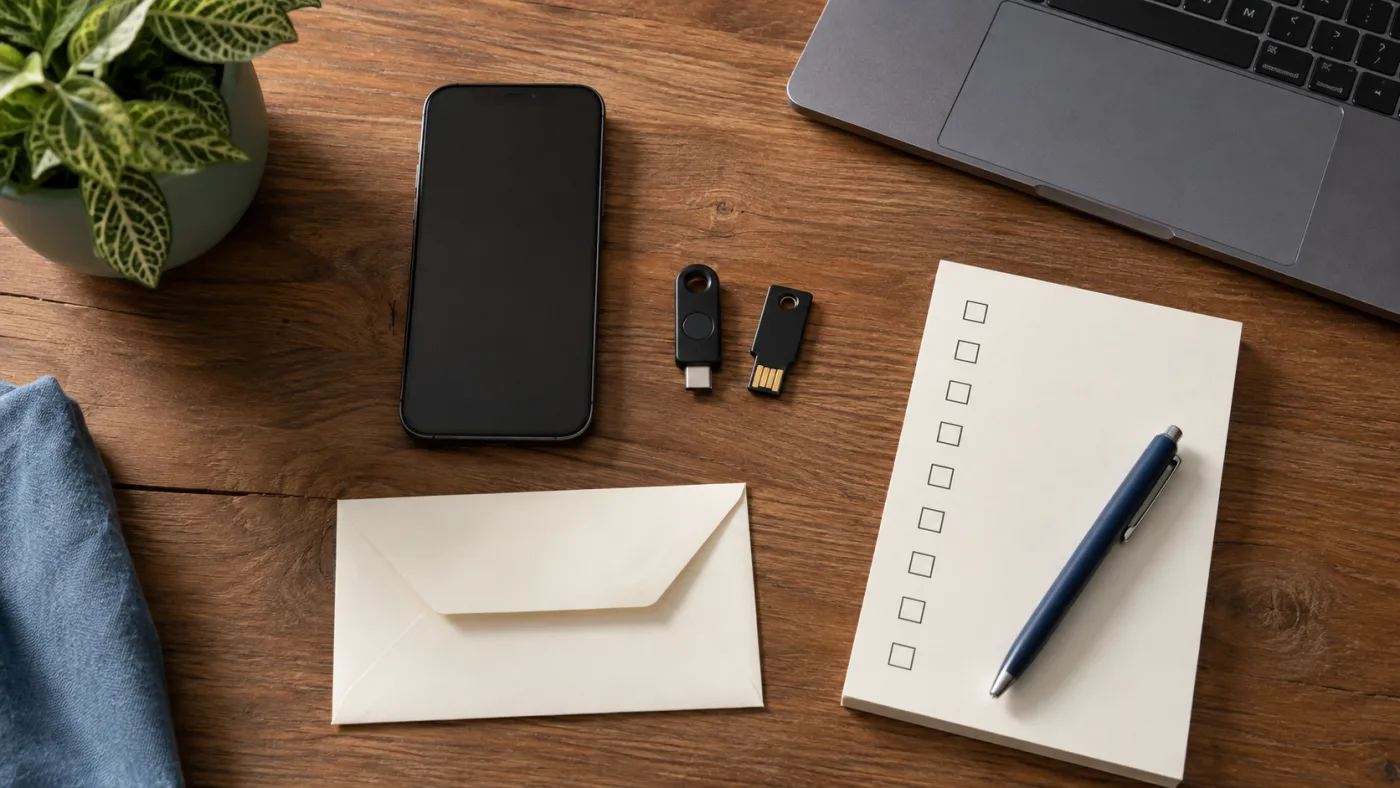
Two backups are not independent if both live only on the same phone. A good recovery plan spreads risk across different places and systems. One practical combination is a synced passkey on your everyday phone, a hardware security key stored at home, and printed one-time backup codes in a locked document box. Losing one item does not automatically remove the other two.
A recovery email is also weakly independent if it can only be opened from the same device. Sign in to that secondary account periodically so it does not become dormant, secure it with strong authentication, and give it its own recovery path. If you must retain SMS recovery, protect the carrier account with an account PIN and any available number-transfer or port-out lock.
Suppose Maya uses a synced passkey for her primary email but keeps a picture of her backup codes on the same phone. After the phone disappears, opening the cloud photo library may require approval through that primary email, creating a circular dependency. A better plan would leave one registered security key at home and store printed recovery instructions in a sealed envelope. A trusted family member might know where the envelope is without knowing the account password.
Frequent travelers should also avoid keeping every spare in one carry-on bag. The phone and bag can be stolen together. Keep one method on your person and another at home or, where appropriate, in a separate secure location. The purpose is not maximum complexity; it is preventing one ordinary mishap from becoming total lockout.
If you are organizing account records alongside household emergency papers, the emergency financial records kit explains how to separate encrypted and offline copies. Keep the actual one-time codes under tighter access control than an ordinary household inventory.
An alert for a passkey you did not create, a surprise change to recovery email, an unknown login, or repeated approval prompts can indicate an attack. Rejecting a prompt is useful, but it is not a complete response. From a device you reasonably believe is clean, open the official app or type the official address and work through this order:
Do not trust a customer-support number shown in a search ad or unsolicited message. Never give an authentication code to a caller, and do not approve a login or screen-sharing request that you did not initiate. A legitimate employee should not need you to weaken authentication so they can “secure” the account.
Not necessarily. Passkey support varies, and some services continue to allow passwords. A credential manager can still hold unique passwords for unsupported sites and may also be the system that securely synchronizes your passkeys across devices.
In a typical passkey transaction, biometrics unlock the credential locally and the site verifies a cryptographic response using the public key it registered. Review your device and service privacy notices for any additional data they collect outside that authentication process.
For important accounts, prefer a phishing-resistant option such as a passkey or hardware security key when available. But if SMS is the only extra factor offered, it can still add protection beyond a password alone. Test stronger replacement and recovery routes before deleting an existing method.
That depends on your risk and budget. One key can become a single point of failure, so the important principle is having an independent spare for high-value accounts. The spare does not always need to be another hardware key; a securely stored recovery code or separately protected device may serve, depending on the provider.
For personal accounts, provider-supported family sharing, delegated access, or separate profiles usually makes responsibility clearer than sharing one authenticator. For emergency access, consider sealed instructions, legal authorization where relevant, and the provider’s legacy or inactive-account features instead of routinely sharing the password.
A “passkey added” confirmation is not the finish line. The goal is to prove that you can safely regain access even after one device disappears. Start with your primary email, create and test the first passkey from a signed-out state, and then add one backup that fails differently from the primary method. Those three actions deliver most of the practical benefit without turning account security into a full-time project.
This article provides general digital-safety information, not individualized legal, financial, or cybersecurity advice. Account menus, supported authenticators, and recovery policies differ by provider; verify the current instructions on each provider’s official site.
브라우저 메뉴에서 앱 설치 또는 홈 화면에 추가를 선택해 주세요.