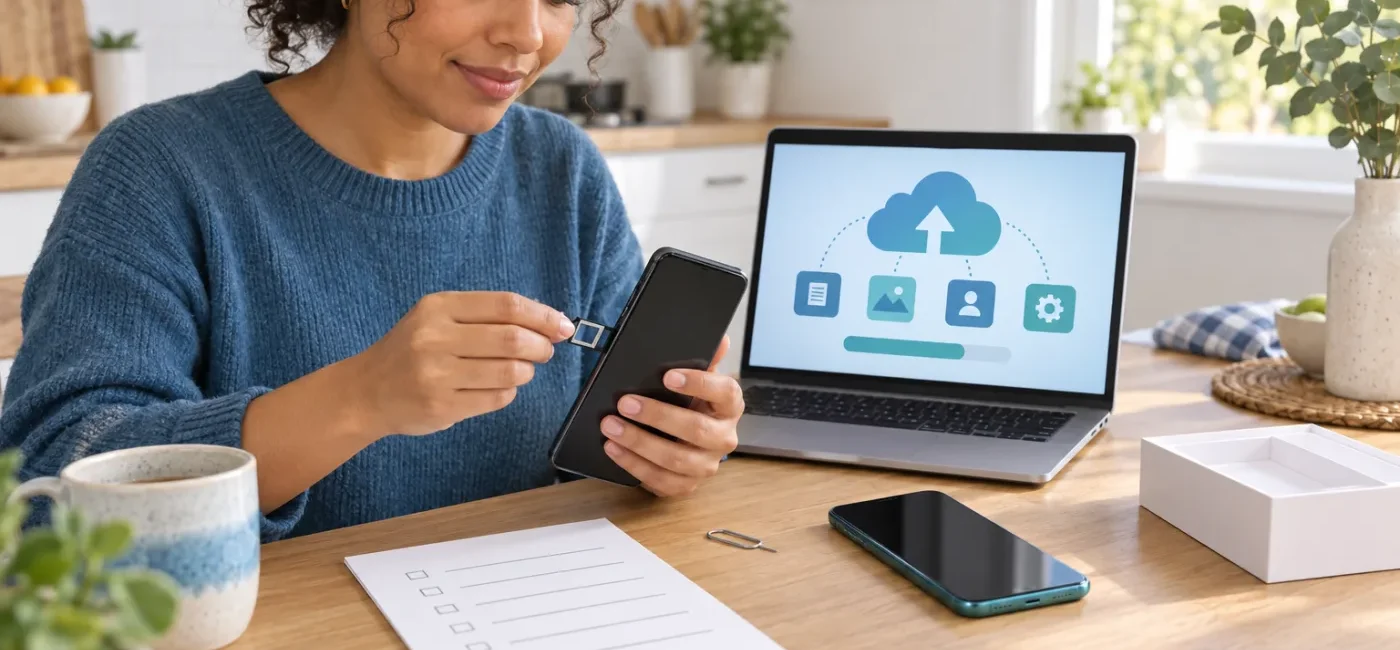
Old Phone Trade-In Checklist: Back Up, Erase, and Recycle Safely
Smartor 편집팀
September 18, 2026

When you replace a phone, the most important task is not learning the new features. It is moving and verifying your photos, messages, sign-in credentials, payment cards, and authentication tools before the old device leaves your hands. Reset too early and you may lose data or your only login method. Hand over the phone without disconnecting accounts and the next owner may encounter an activation lock—or your personal information may remain exposed.
The safest order is prepare the new device, back up, verify the restored data, move the phone number and authentication methods, disconnect accounts and device locks, factory-reset, confirm the welcome screen, and only then sell, trade in, donate, or recycle. This guide covers the steps that apply to both iPhone and Android, including eSIMs, authenticator apps, digital wallets, wearables, and shipping records.
This article provides general digital-security and electronics-disposal information for U.S. consumers. Menus and requirements vary by manufacturer, carrier, employer policy, and trade-in company. Check the official instructions for your exact device and program before the final reset.
Your exit route determines what evidence and timing you need. A private sale requires a clear description of the device, condition, and carrier-lock status. A trade-in has quote deadlines, inspection criteria, and shipping rules. A charity may accept working devices but not damaged ones. A phone that will not power on—or has a swollen battery—needs an approved electronics or battery collection process, not a household trash or curbside recycling bin.
The reset is the last step, not the first. Have the new phone, charging cables, reliable Wi-Fi, screen-lock PIN, account passwords, carrier account information, and authentication recovery methods ready. Charge both devices. Do not begin minutes before a shipping cutoff; a large photo library or app transfer can take far longer than expected.
A phone is not just a storage device; it is a trusted sign-in device for many accounts. Review the accounts listed in Settings, your password manager, authenticator app, digital wallet, messaging apps, and work profile. Include services you open only a few times a year, such as tax, health, insurance, and airline accounts.
If your phone number will change, do not cancel the old line first. Text-message verification and account recovery may still point to it. Add the new number and a backup email to important accounts, then test a login from another device. Our passkey and account-recovery guide explains how to avoid leaving one phone as your only way back into an account.
Run a cloud or computer backup and confirm that its timestamp is current. A “backup complete” message does not guarantee that every app’s data is included. Some messaging, authentication, game, health, and workplace apps require a separate transfer. Even if your photo library says it is synced, open recent photos, older photos, long videos, shared albums, and hidden items from the new phone or the provider’s website.
Example: Suppose Mina’s iPhone shows that an iCloud backup is complete and she has 20,000 photos. On the new phone, recent images appear, but an older video shows only a blurry thumbnail. The library may still be syncing or downloading the original. She should keep the old phone powered and connected to Wi-Fi until the original opens successfully on the new device.
A common failure is discovering that email and banking apps were transferred but two-factor authentication was not. Authenticator apps use different systems: cloud sync, QR export, account-by-account registration, or enterprise enrollment. Do not stop when the new app displays six-digit codes. Test one or two important logins and confirm that the codes are accepted.
Prepare at least two independent sign-in paths before wiping the old phone. For example, pair a synced passkey on the new phone with a separate hardware key, or combine an authenticator app with securely stored recovery codes.
Move a physical SIM to the new phone or dispose of it according to your carrier’s instructions. Always remove a microSD card. An eSIM is less visible, but that does not mean it transferred automatically. Place and receive a call, send and receive a text, and turn off Wi-Fi to test cellular data before deciding whether to remove the old eSIM.
Deleting the old line too soon can cut off verification texts and force a carrier-support call. Leaving an eSIM profile on a device you hand over is also a mistake. If your service suddenly stops and you did not request a transfer, contact the carrier immediately and follow our SIM-swap protection and response checklist.
Before the reset, review payment cards, transit passes, IDs, employee badges, hotel keys, car keys, and smart-home keys. Some items do not restore automatically and may require re-verification by the issuer. If a transit card has stored value, check whether your wallet provider supports transfer or backup.
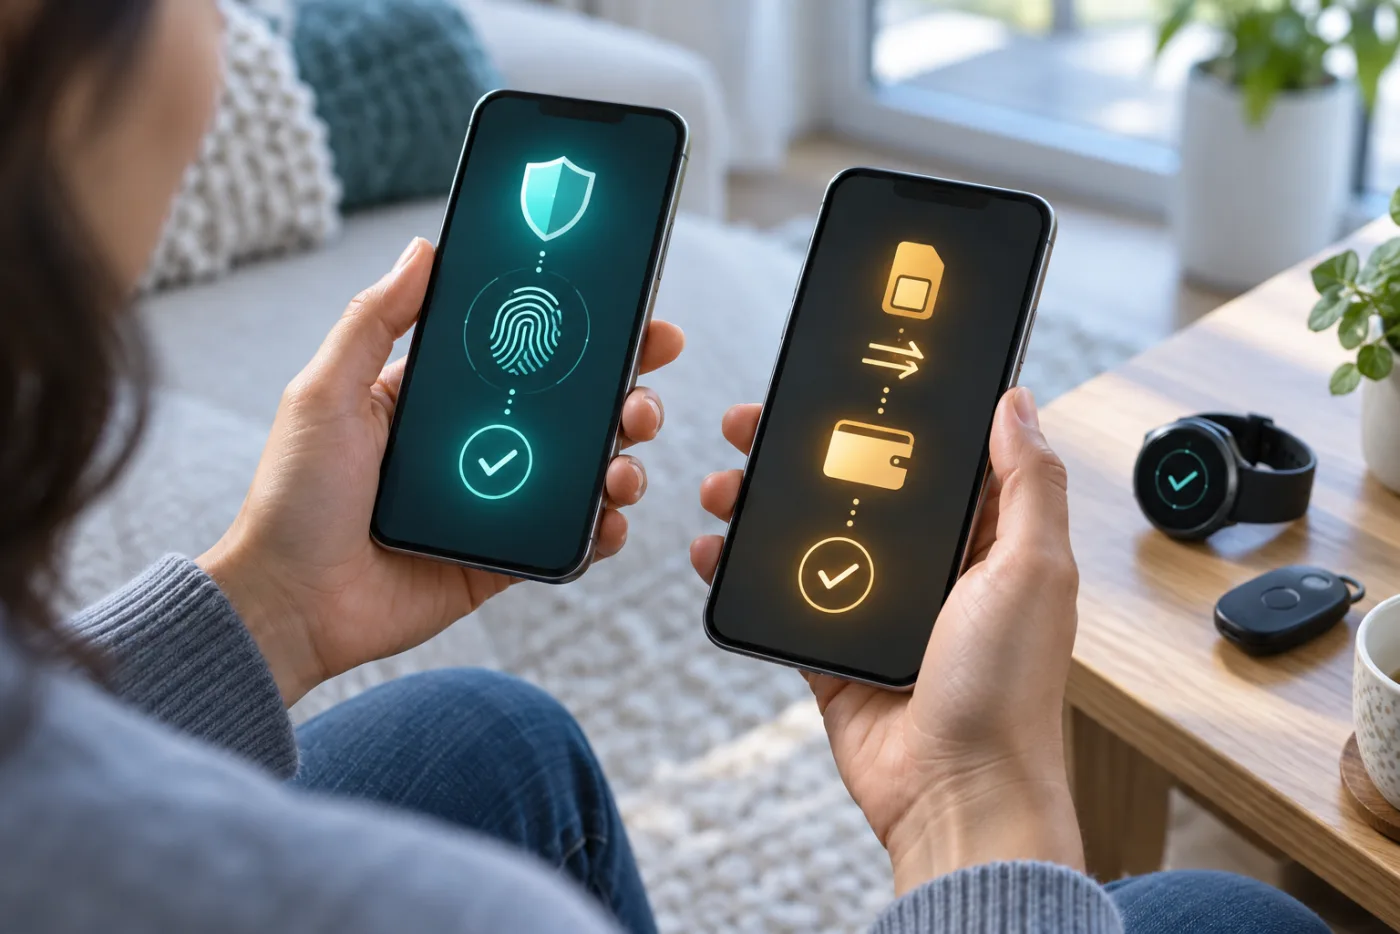
Once the new device has a verified copy of your data, disconnect the manufacturer’s account, device-finding service, and activation lock on the old phone. On an iPhone, the Apple Account sign-out and “Erase All Content and Settings” flow may request the account password to turn off Find My and Activation Lock. On Android, the proper order for removing Google and manufacturer accounts varies by device; removing them before the reset helps prevent the next owner from being blocked by device protection.
Menu names vary by operating-system version and manufacturer, so use the official support page for your specific device. Clean up the old phone in your online trusted-device list as well, but only after the new device works and the reset is complete.
Deleting photos and apps one at a time is not a substitute for a reset. If cloud syncing is active, manual deletion may also remove copies from the cloud and other devices. The FTC advises consumers to back up, remove SIM and SD cards, and use the phone’s reset or restore feature to erase contacts, messages, photos, videos, and browsing history.
If the display is broken or the phone will not power on, check the manufacturer’s account for a remote-erase option. A remote erase may remain pending until the phone connects to the internet. Tell the repair, trade-in, or recycling company if you could not confirm deletion and ask about its secure data-destruction process.
Photos or a short video taken immediately before packing can help resolve a condition, model, or damage dispute. Record the front, back, cameras, corners, successful power-on, welcome screen, model, and storage capacity. Keep IMEI and serial numbers private; do not post them publicly.
The EPA recommends deleting personal information before donating or recycling electronics and handling removable batteries separately. Lithium-ion batteries and devices containing them should not go into household trash or curbside recycling bins. Use a manufacturer, carrier, retailer, or local-government electronics program and confirm its drop-off requirements.
If a battery is swollen, overheating, leaking, or badly damaged, do not squeeze, bend, puncture, or disassemble it. Move it away from combustible materials if you can do so safely, then contact your local fire department, waste authority, manufacturer, or qualified battery collection program for instructions. Call ahead because facilities have different acceptance rules.
Suppose Alex is trading in an iPhone and switching to Android. Alex charges both phones, creates an iPhone backup, and uses the new Android phone’s official transfer process for contacts, photos, and calendars. On the new phone, Alex opens recent photos, an older video, and several message attachments rather than assuming the transfer worked.
Next, Alex transfers the authenticator accounts and tests banking and email logins. After moving the eSIM through the carrier, Alex confirms incoming and outgoing calls, texts, and cellular data. Alex deregisters iMessage, unpairs an Apple Watch, and re-enrolls wallet items and a car key. Only then does Alex follow Apple’s official sign-out and erase procedure, wait for the welcome screen, photograph the condition, pack the phone, and save the tracking receipt.
Using the built-in factory-reset feature is the standard process for a modern smartphone. It still needs preparation: back up, disconnect accounts and activation locks, and remove SIM and storage cards. Managed company devices or specialized security apps may require an organization’s separate procedure.
No. When photo syncing is active, manual deletion may also remove cloud copies and photos on other devices. Verify the backup from the new phone, then use the manufacturer’s full erase or factory-reset function.
It depends on the device and operating-system version. The reset flow may ask whether to keep or erase eSIM profiles. Confirm the line works on the new phone, then make sure no old eSIM remains before handing over the device.
Check the manufacturer’s account for remote erase and device-removal options, and tell the repair, trade-in, or recycler that deletion was not confirmed. Remote erasure may not finish until the phone reconnects. For a device that held sensitive information, ask about verified data-destruction options.
Requirements vary. Unlocking can affect resale options or value, but carrier rules may depend on account standing, financing, and minimum-use periods. Check both the trade-in program and carrier terms.
No. The EPA says lithium-ion batteries and devices containing them should not go into household trash or recycling bins. Use an approved electronics collection program run by a local authority, manufacturer, carrier, or participating retailer.
After confirming the reset and activation-lock removal, remove it from the account’s trusted-device list. Removing a listing online before the reset is not the same as securely erasing the physical device.
브라우저 메뉴에서 앱 설치 또는 홈 화면에 추가를 선택해 주세요.
[…] Smartor 편집팀 September 18, 2026 Read this guide in English → […]